Online Wireless Lab (OWL)
The Online Wireless Lab (OWL) testbed is Fed4FIRE compliant and is adapted to integrate in the Fed4FIRE federation.
Fed4FIRE : Fed4FIRE is a project under the EU Programme Horizon 2020. The Fed4FIRE federation framework unites worldwide the experimentation facilities from different testbeds in a federation.
jFed: jFed is a Java-based framework for testbed federation. It provides a graphical GUI to allow user to setup and operate an experiment.
The Aggregate Manager (AM) in our Testbed follows the FED4FIRE interoperability standards and supports the authentication and authorization of the experimenters with FED4FIRE certificate. jFed can send the user’s experiment request as an Extensible Markup Language Remote Procedure Call (XML-RPC) request over the Hypertext Transfer Protocol Secure (HTTPS) protocol. The AM in our testbed authenticates and authorizes the user. If successful, the AM will call the associate application to run the experiment workflow.
When the experiment starts, AM should allocate and initiate the reserved resources. In this phase, if it is the first time of the user group to access the testbed, the resource PC will restore the original OS Image. Otherwise, the PC will restore the image, which is cloned after last usage. After the experiment, the user can release the resources in jFed. Accordingly, the AM will clone the OS image of all the released resources for the next usage.
1. Get a Fed4Fire account
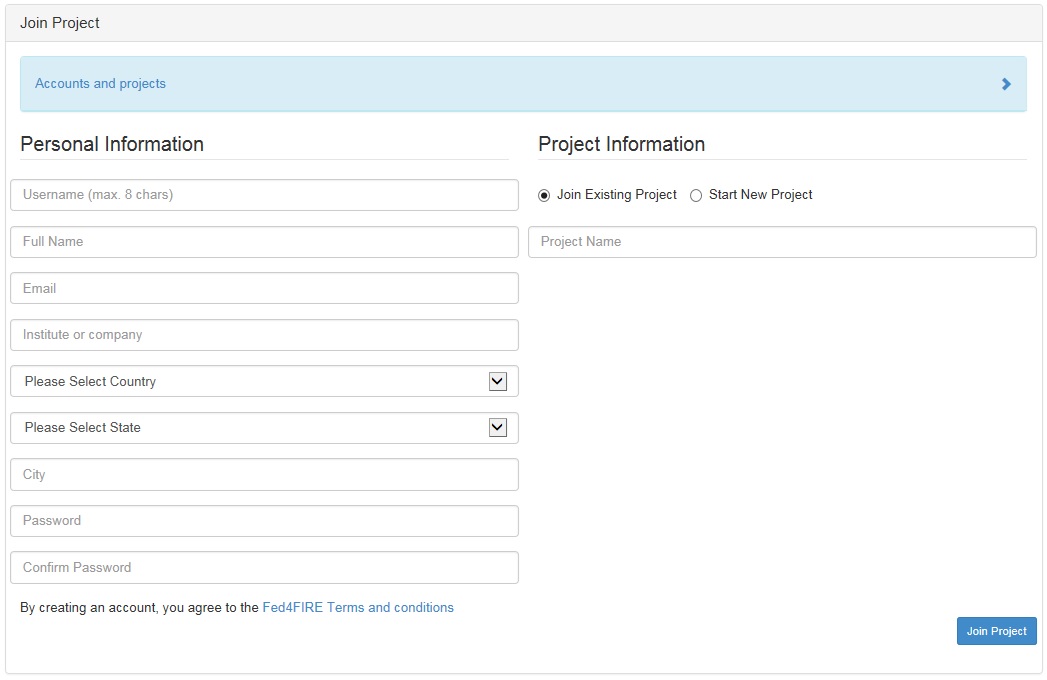
In order to use the jFed Experiment tool, you need to get a Fed4Fire account. Please sign up here: https://authority.ilabt.iminds.be/signup.php.
For the option “Project Information” you can start new project or join existing project, for example: “TUDTestProject”.
After you send the registration request, you have to fill in a verification code to complete the registration. You can find the verification code a confirmation email sent by iMinds Authority Operations in your registered email address.
After the registration, you need to wait until the account is approved.
2. Send us your reservation request
You will need an account to login on the gateway server via remoter desktop.
To get this account, please contact us via Zhitao.lin@ifn.et.tu-dresden.de.
We need the following information to create an account for you:
1. Your Fed4Fire user name
2. The Fed4Fire project name
3. The purpose of the experiment
4. The resource nodes you want to reserve
5. The duration of your experiment for this Fed4Fire project (start and end).
After we approve your reservation, you will receive your account information and a remote desktop configuration.
3. Install jFed Experimenter GUI
Please download and install jFed :
https://jfed.ilabt.imec.be/downloads//
4. Login on jFed
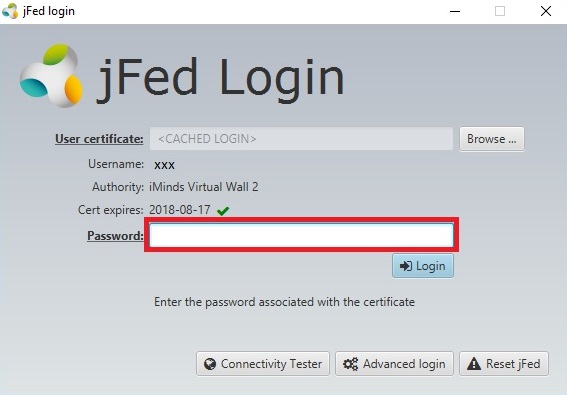
Open the “jFed Experiment Tool Set” and choose “Login withFed4FIRE-credentials”, and login using your Fed4Fire account.
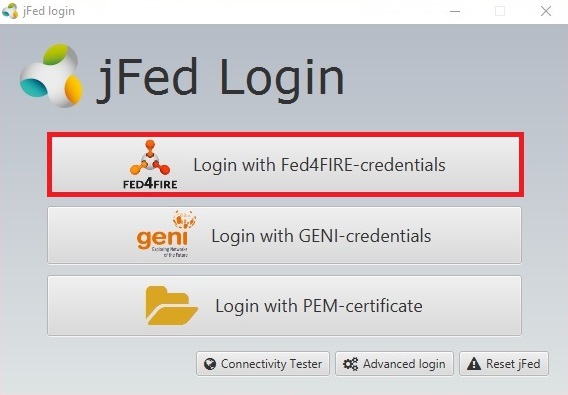
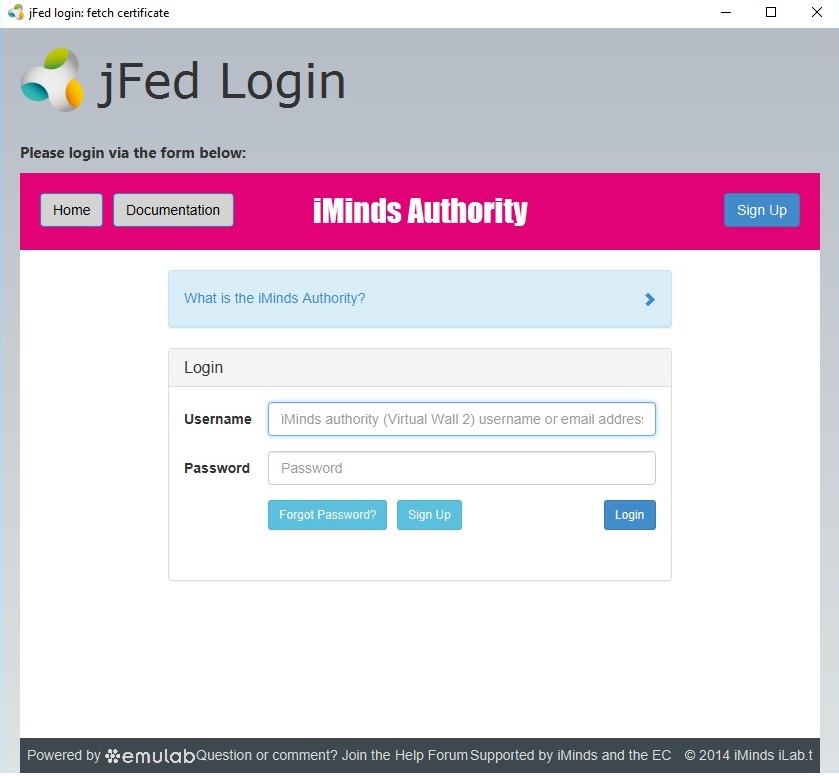
After login, you will be request to fill your password again. After that, you will see the GUI.
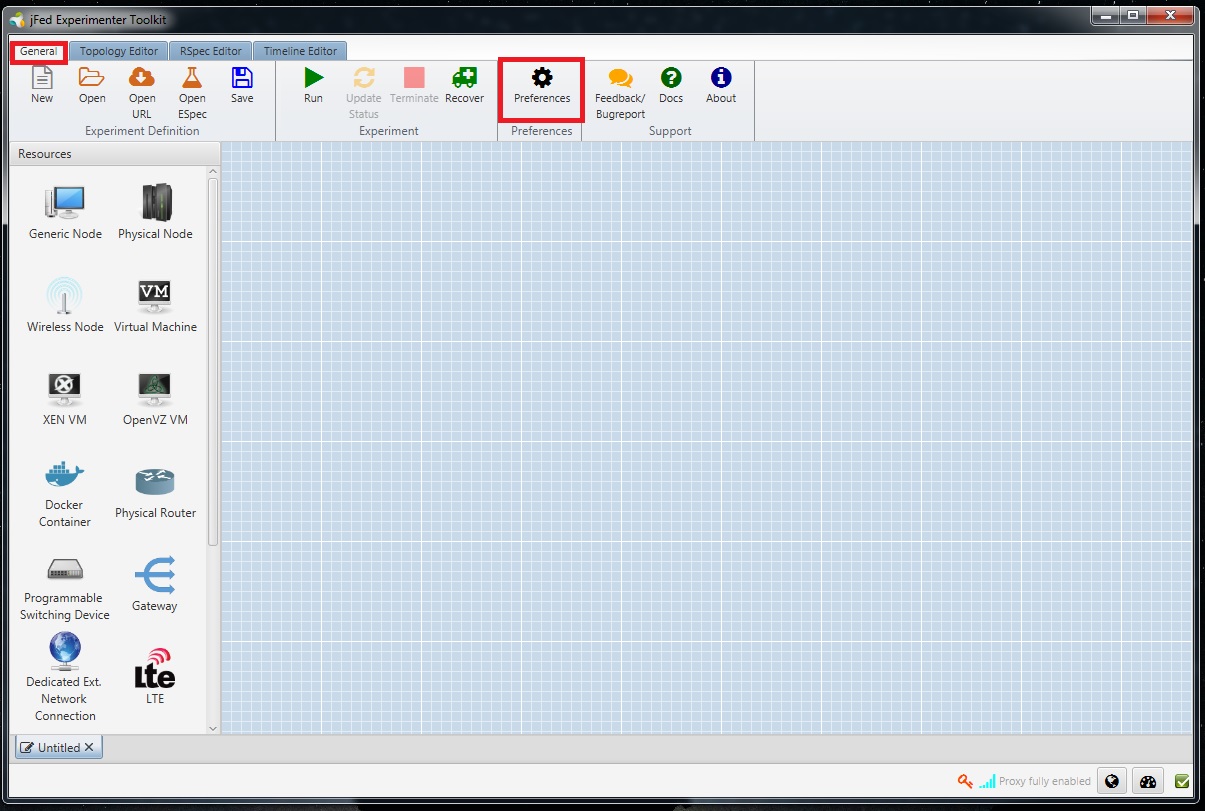
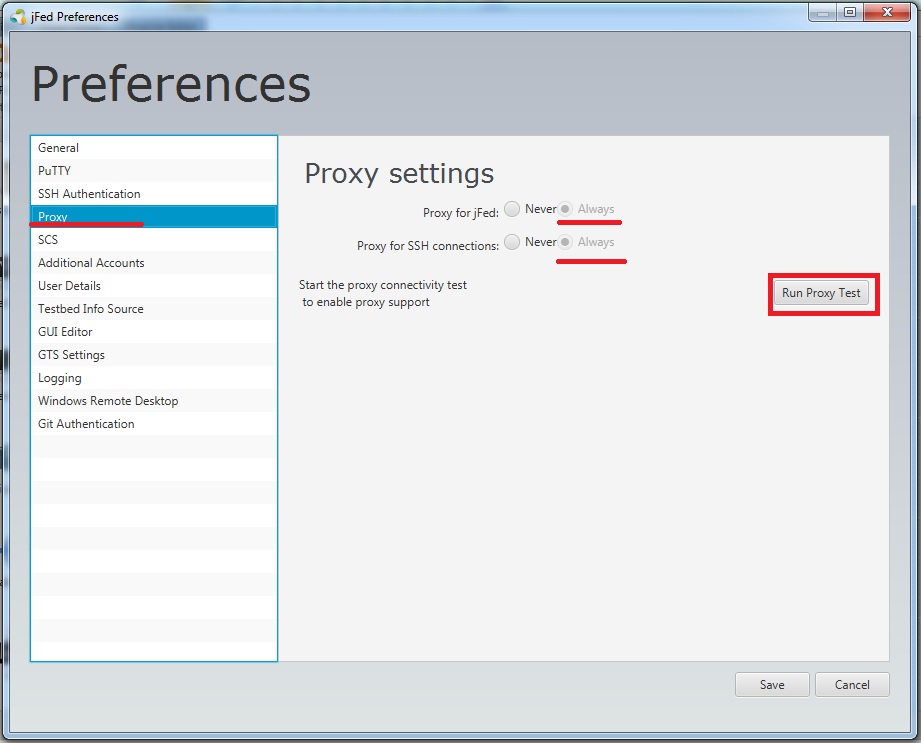
5. Proxy configuration in jFed
In jFed under General->Preferences, you can find the option “Proxy”. Please click the “Run Proxy Test” button, then select “Always” for both “Proxy for jFed” and “Proxy for SSH connections” . Then click “Save”
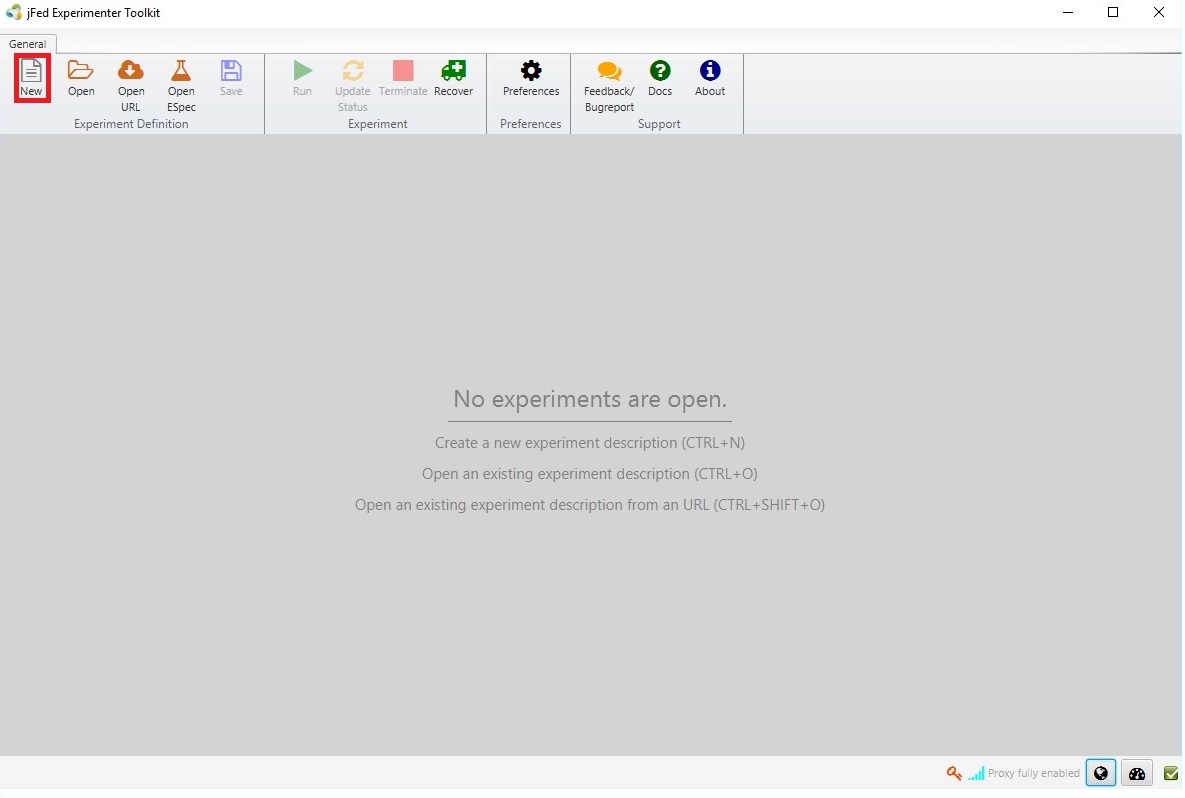
6. Create an Experiment
Click on the button “new” to create a new experiment.
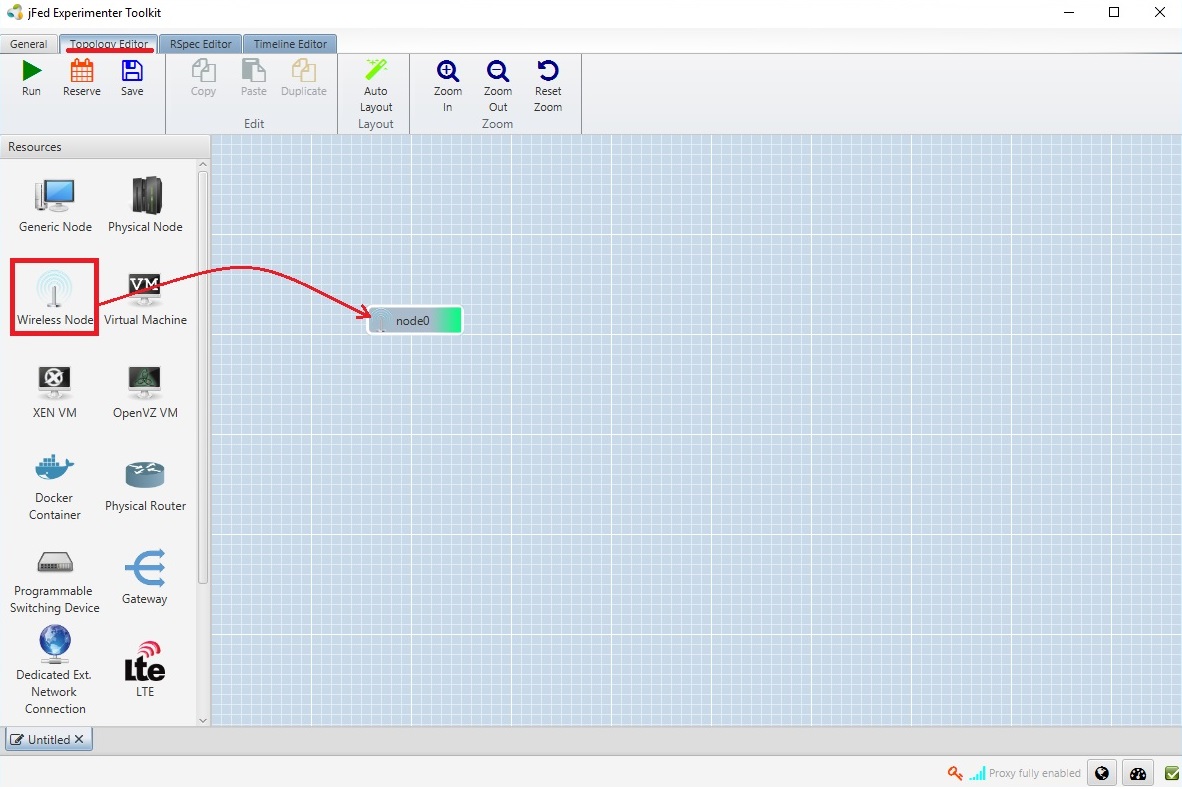
You will open then Topology Editor. By the left side, there is a “Resources” list. You can find different “Node” in this list. Please drag a “Wireless Node” to the canvas:
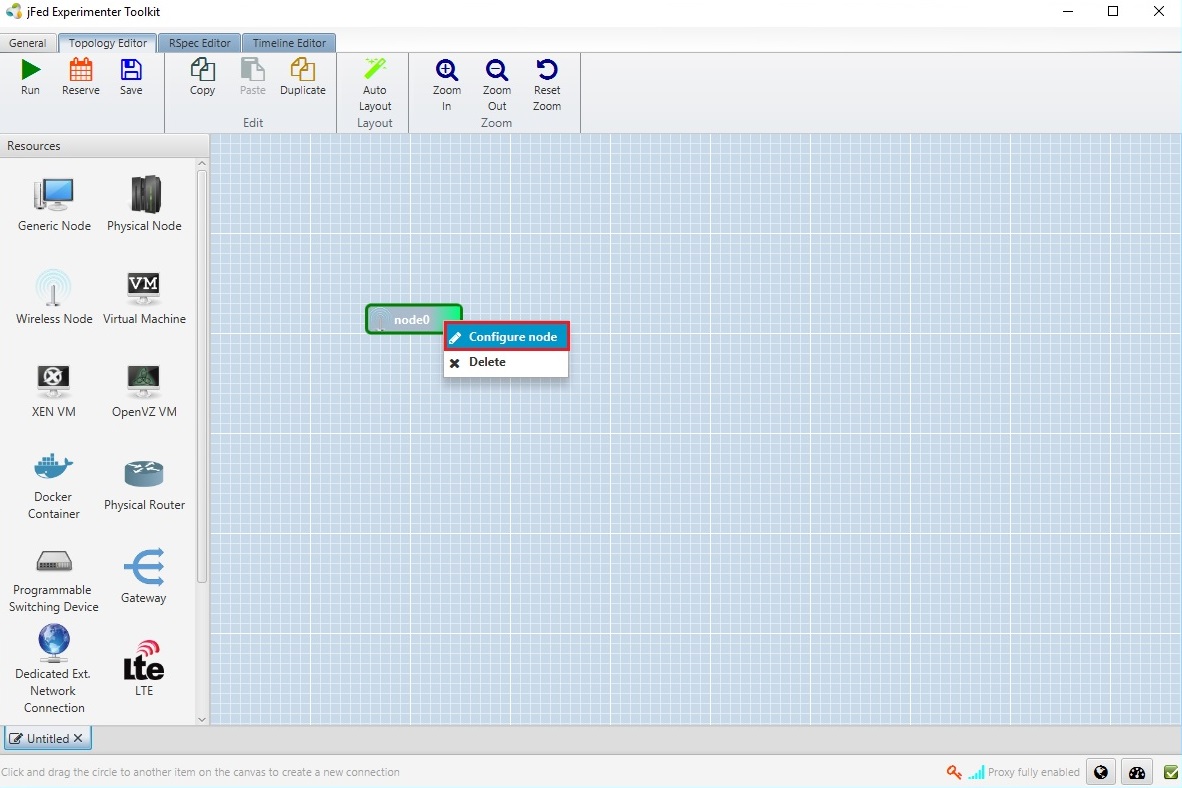
Right click on the node icon, and click “configure node”, then you can open a dialog box.
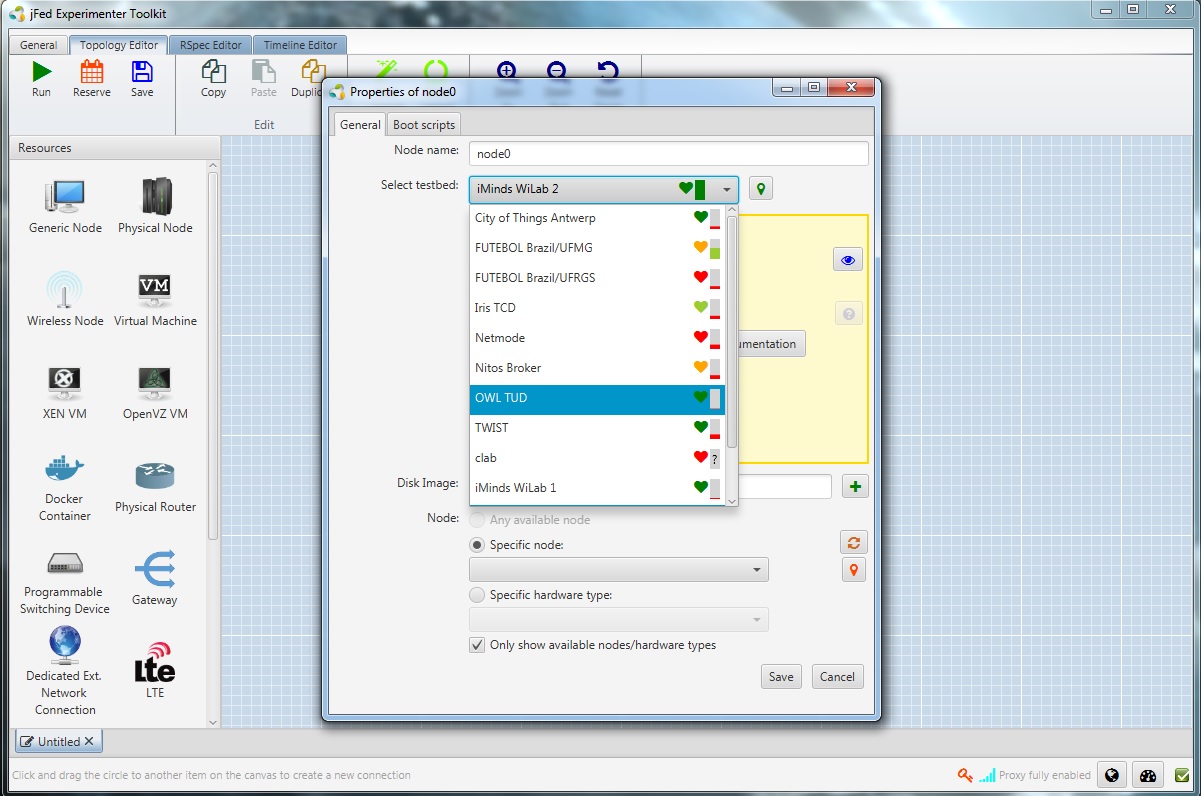
Please in the “Select testbed” area, choose “OWL TUD”.
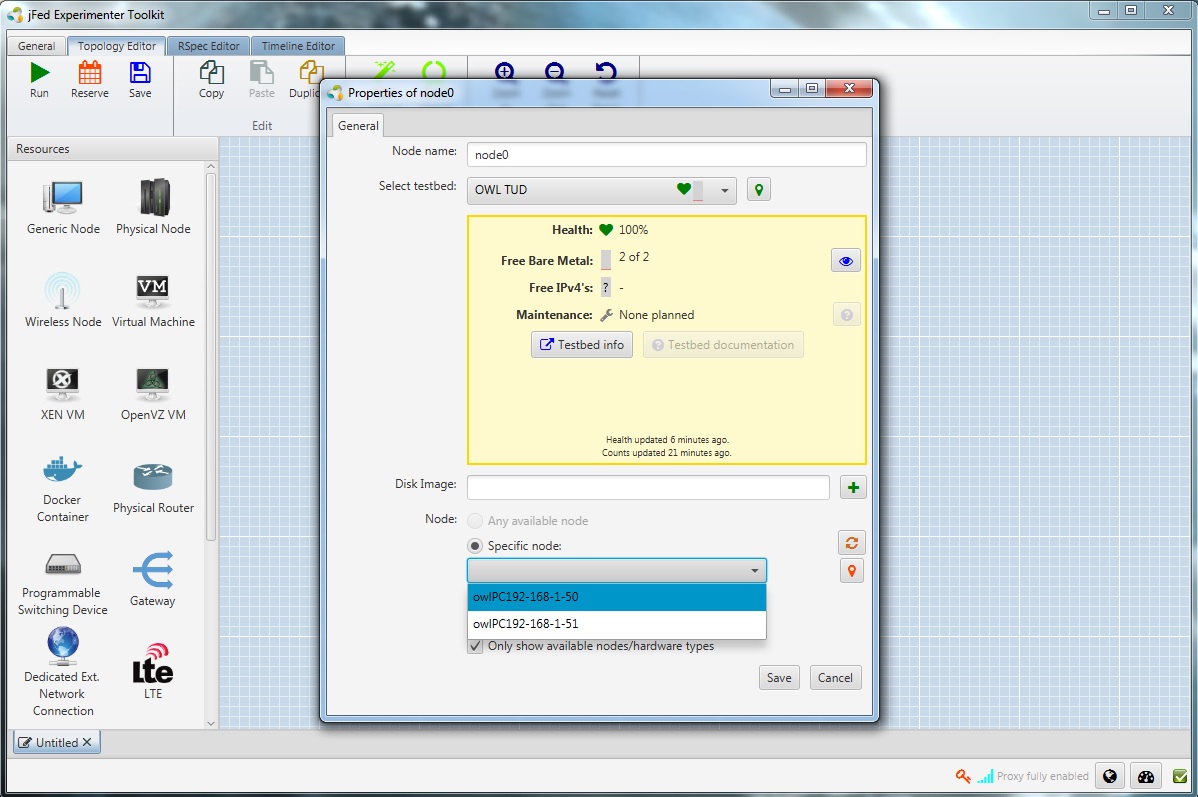
Please click the “refresh”button, to update the status of the resource nodes.
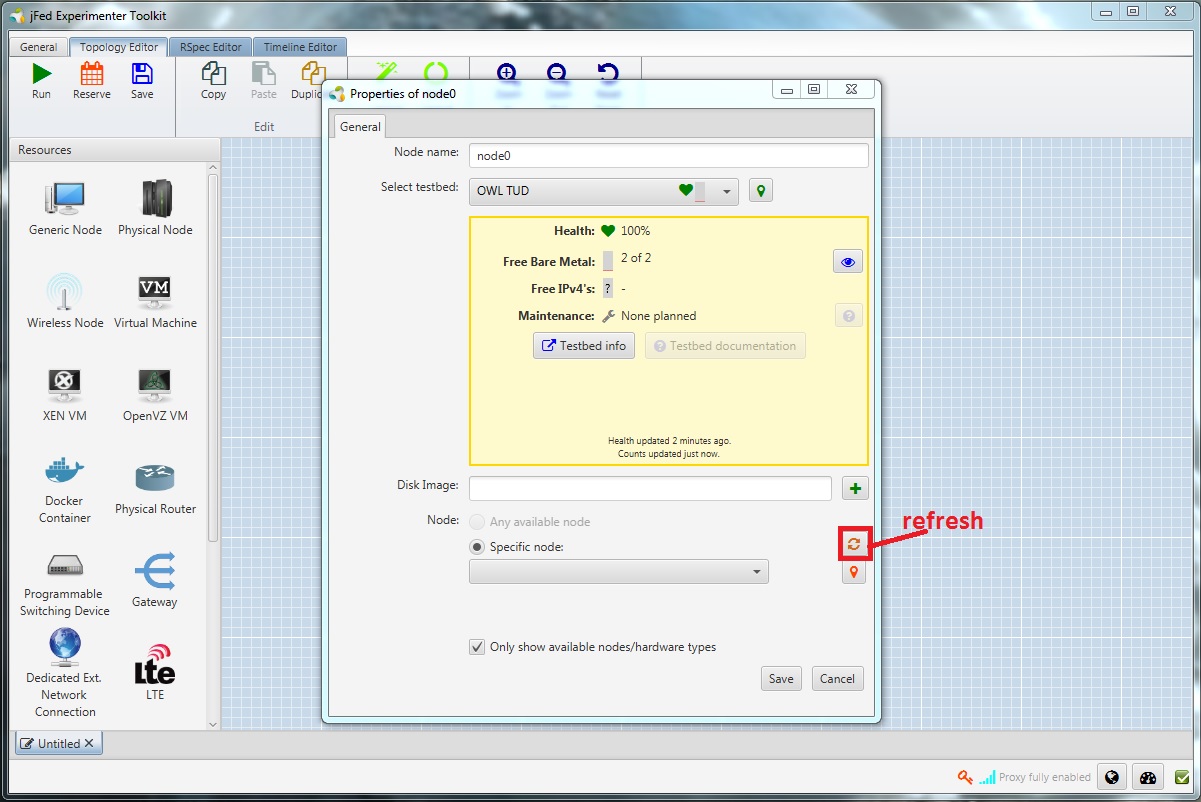
Then you can select the reserved nodes in the drop-down menu under "Specific nodes":
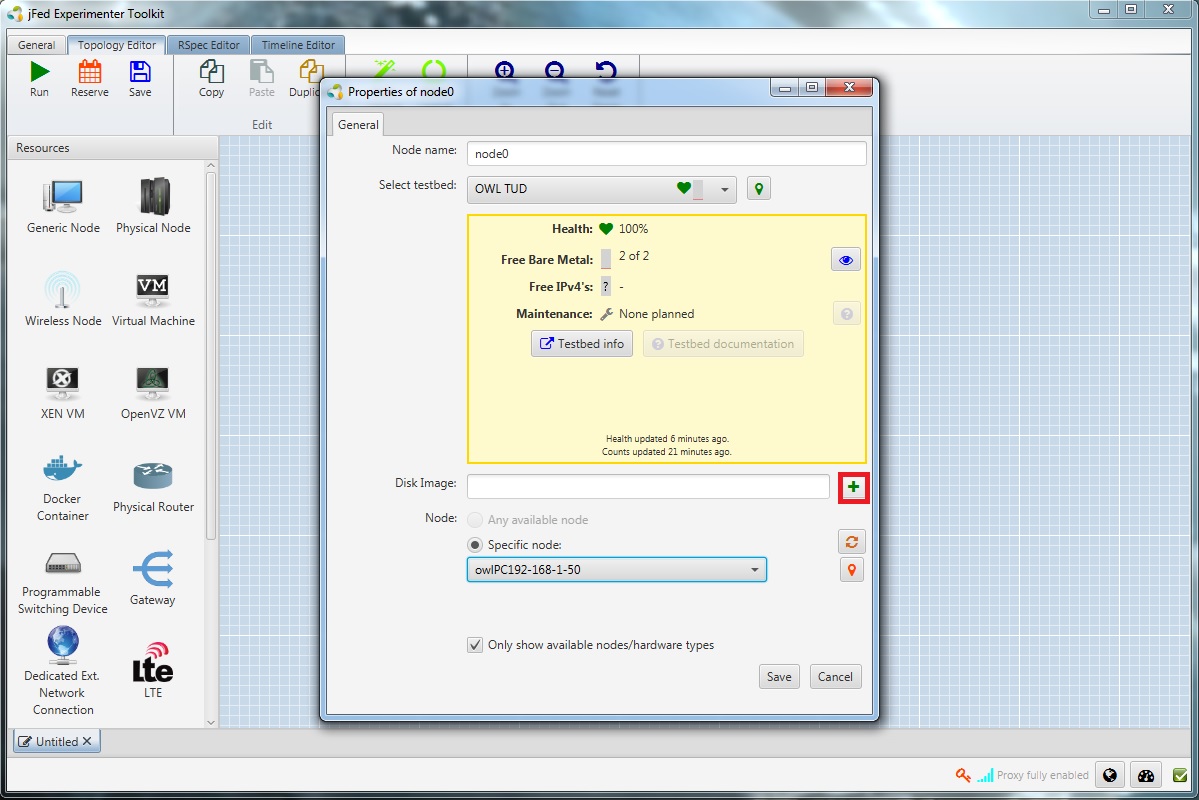
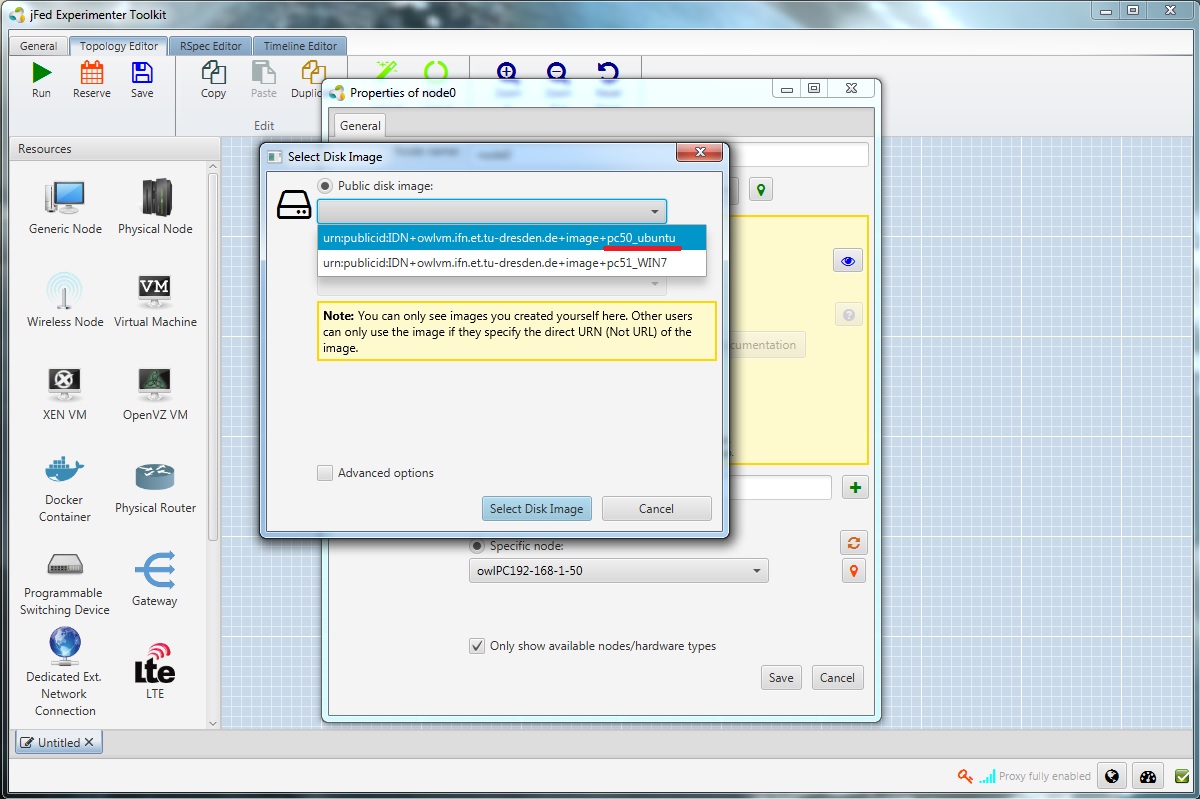
there is one more option in the node configuration, the Disk Image. there is a green "+". when you click it, you will see a new dialog box to select the image. Please notice, the end of each image name is the pc number and the os type. Please select the image in accord with the pc you will choose. Then click "save" to finish the configuration.

If you reserved more than one resource node, please drop another “wireless node” in the topology space and repeat the selection.
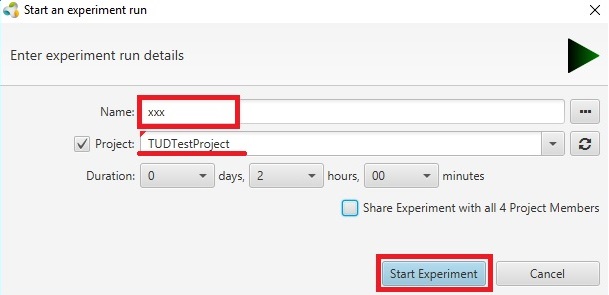
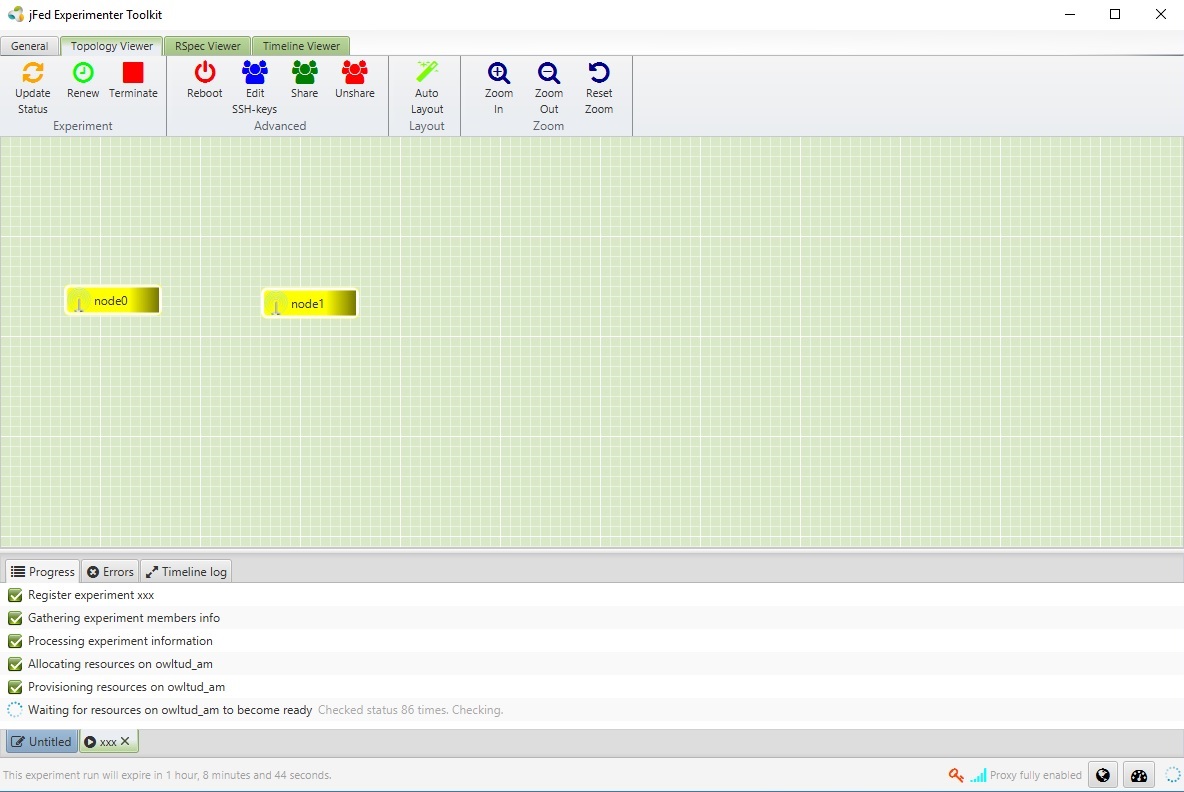
After the setting up the nodes, you can click on the button “run” to start an experiment.
You can see a dialog box. Then you need to input the experiment name, the Project, which you used for this reservation, as well as the Duration. Please notice, that the Duration you input here should not exceed the reserved duration you informed us. Then click the button “Start Experiment”.
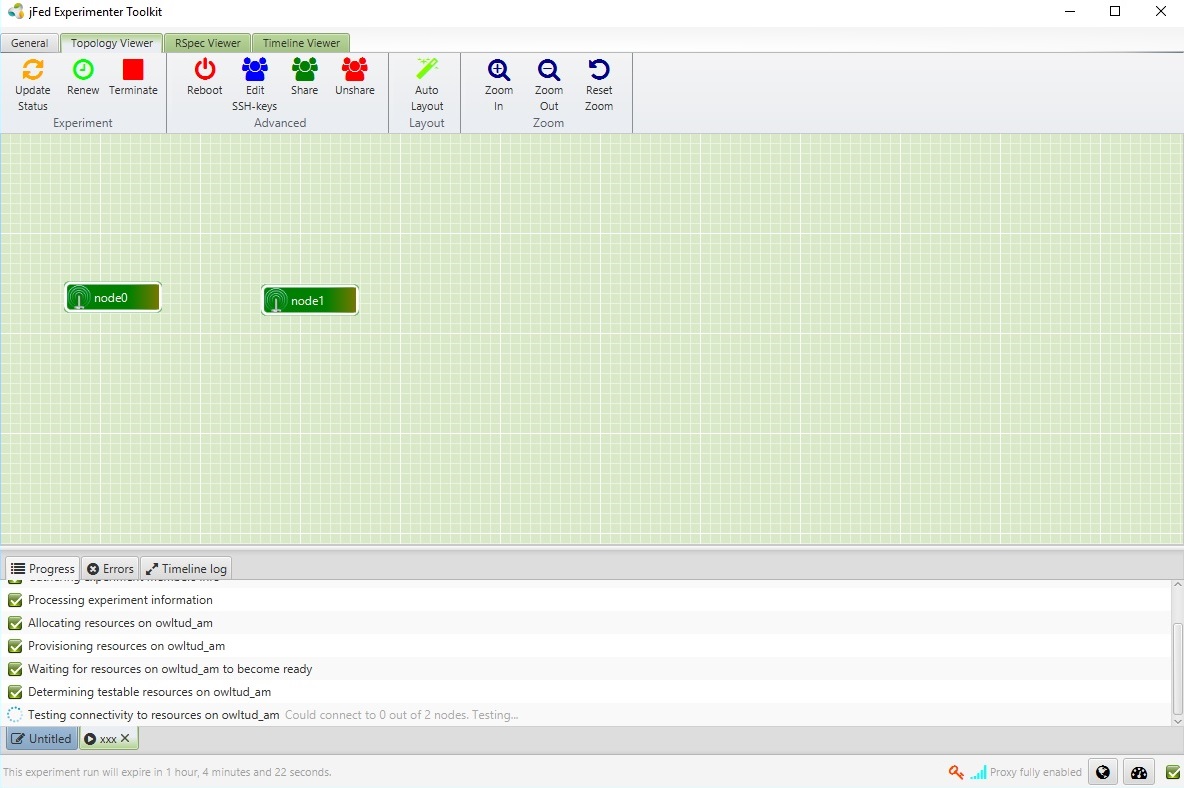
When the experiment starts, the testbed will initialize the reserved nodes. The OS Image manager will restore the OS Images for this Project on the nodes. If the colours of the nodes turn from yellow to green, it means the nodes are ready. This process might take 15~50 minutes.
If you reserved more than one resource node, please drop another “wireless node” in the topology space and repeat the selection.
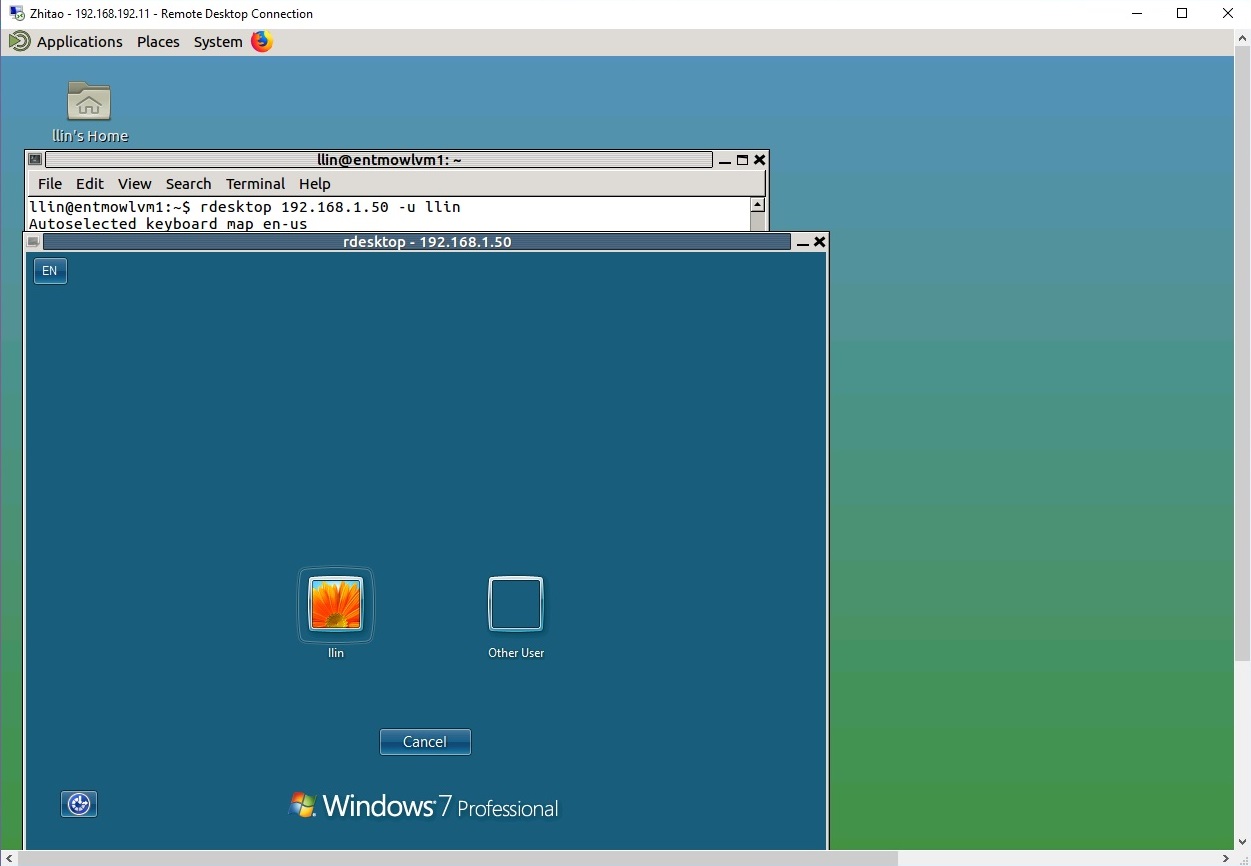
7. Remote Desktop login
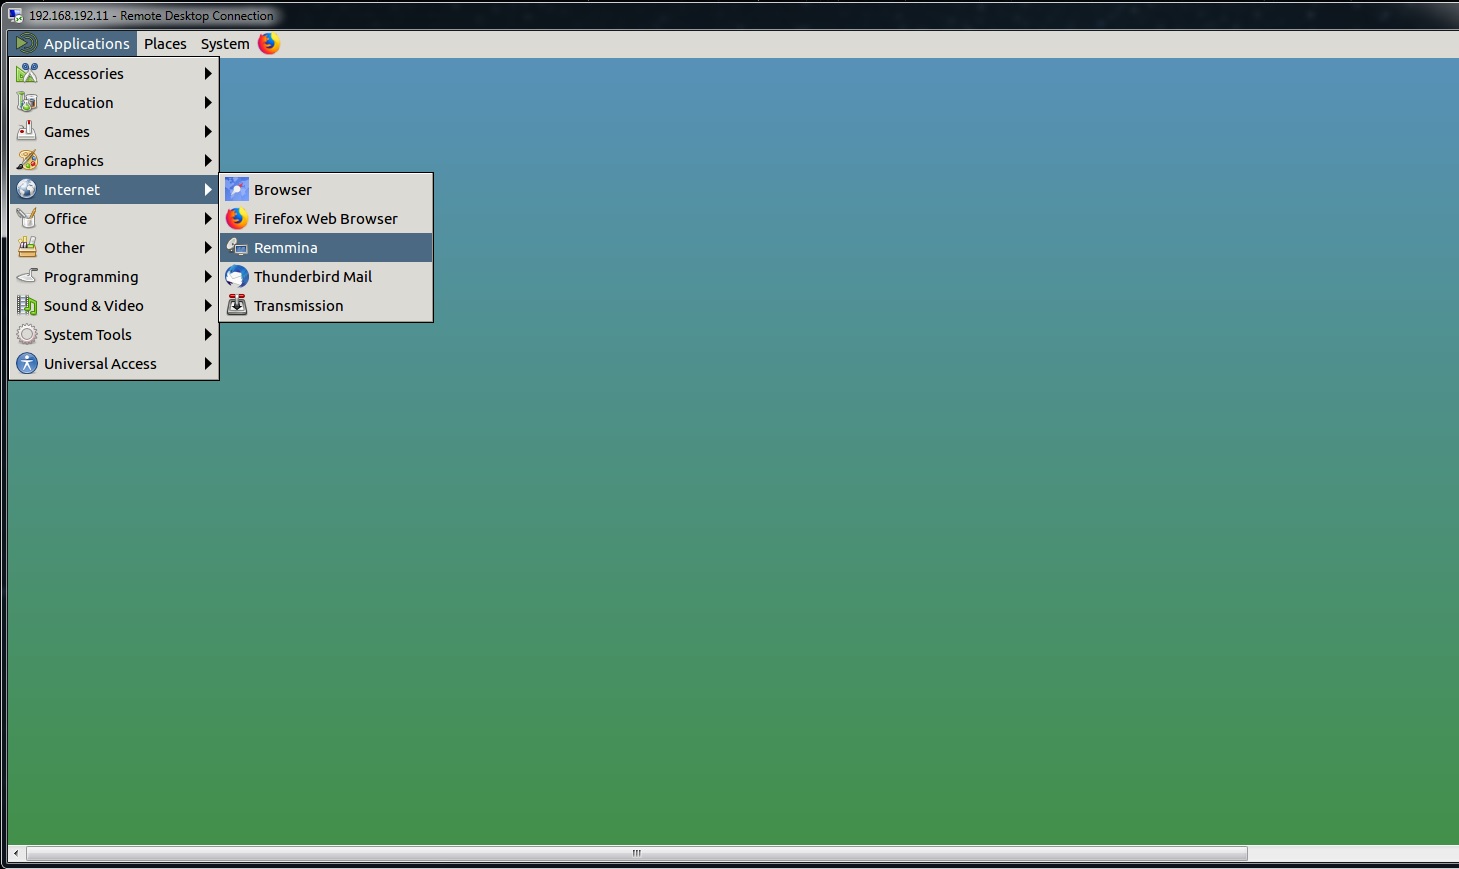
Open the RDP file we sent you in the confirm email to connect to the main experiment server (ubuntu).
After you successfully logged in, you can access to the resource nodes again via Remote Desktop.
The RDP application “Remmina” is already installed in the experiment server. You can find it under : “Application -> Internet->Remmina”.
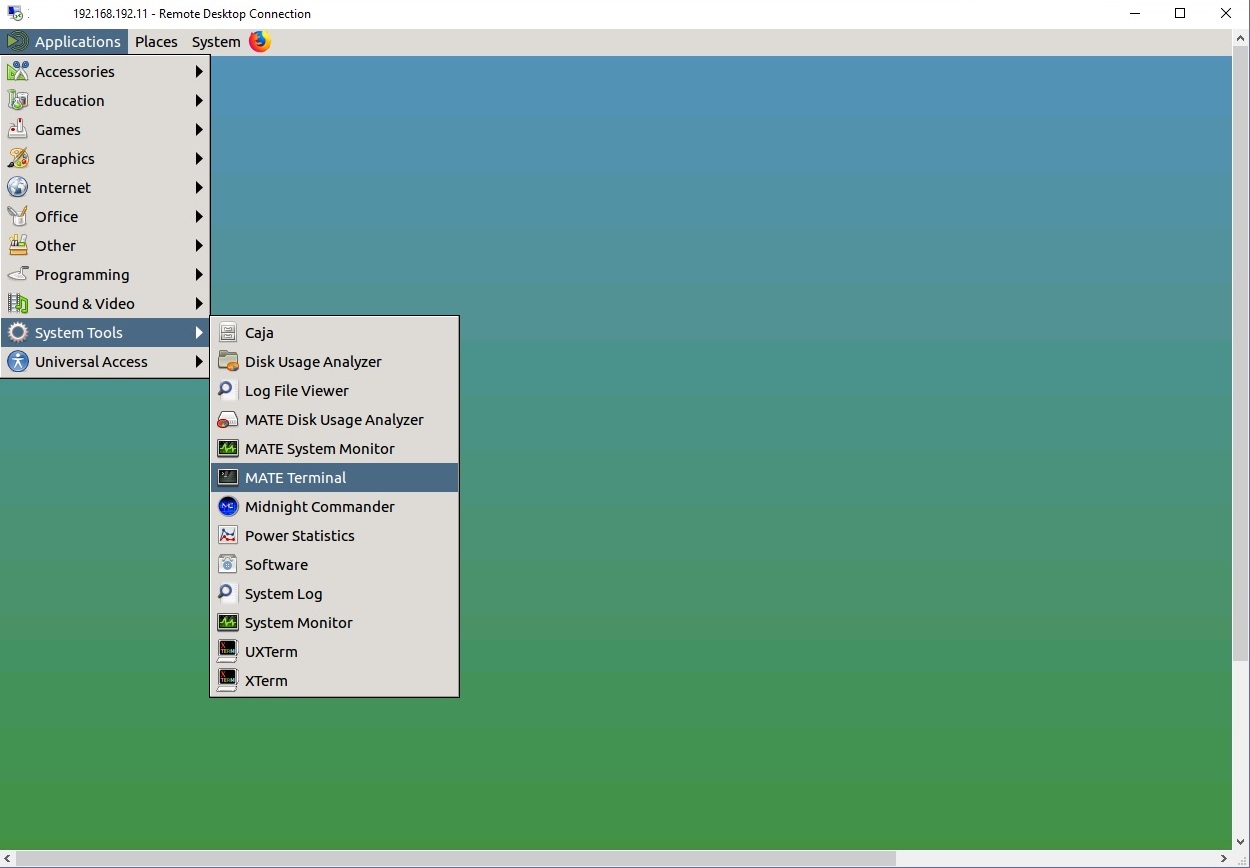
There is another way to use RDP: you can also open the MATE Terminal and use the “rdesktop ” command to remotely login on the reserved resource node. For example for the node0 with local IP address 192.168.1.50, you can use the command: “rdesktop 192.168.1.50 –u your_jfed_account”. If you want change the rdesktop window size, the option "-g" of the command rdesktop can help you. You can specify the resolution, like "-g 1280x800", or use a percentage of the actual window, like "-g 80%".
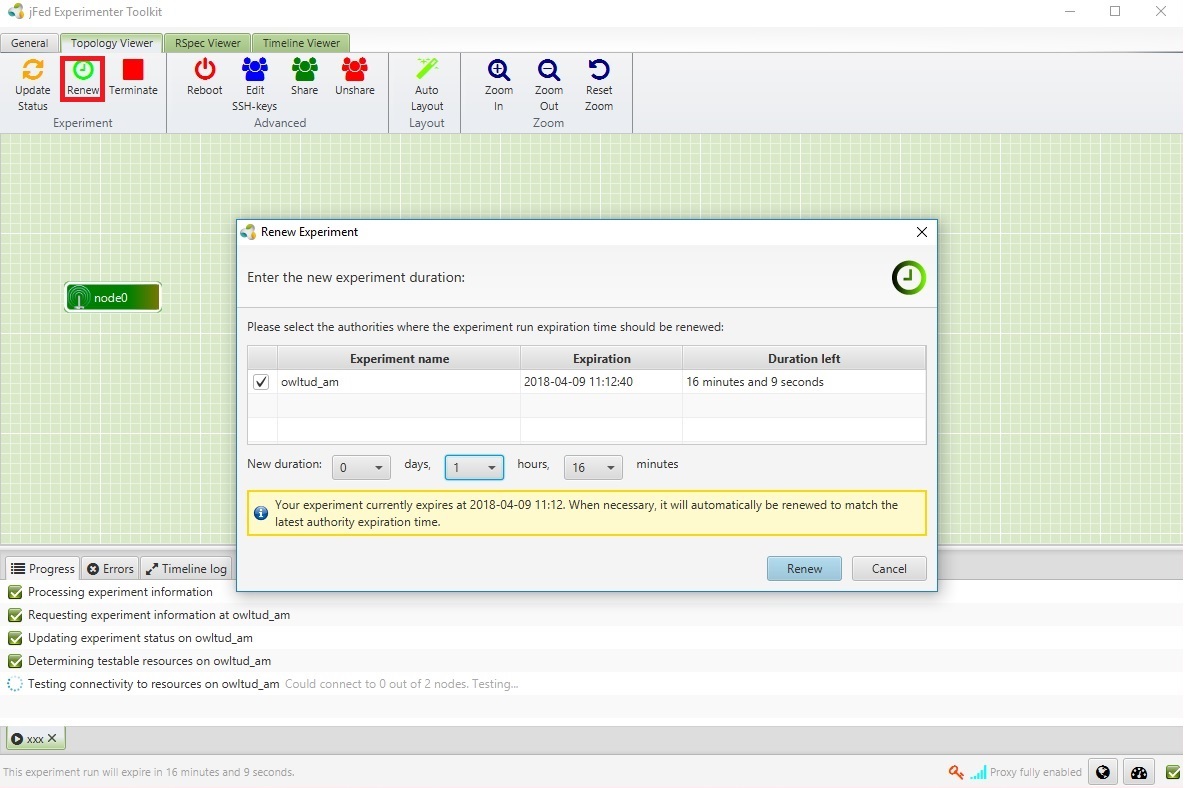
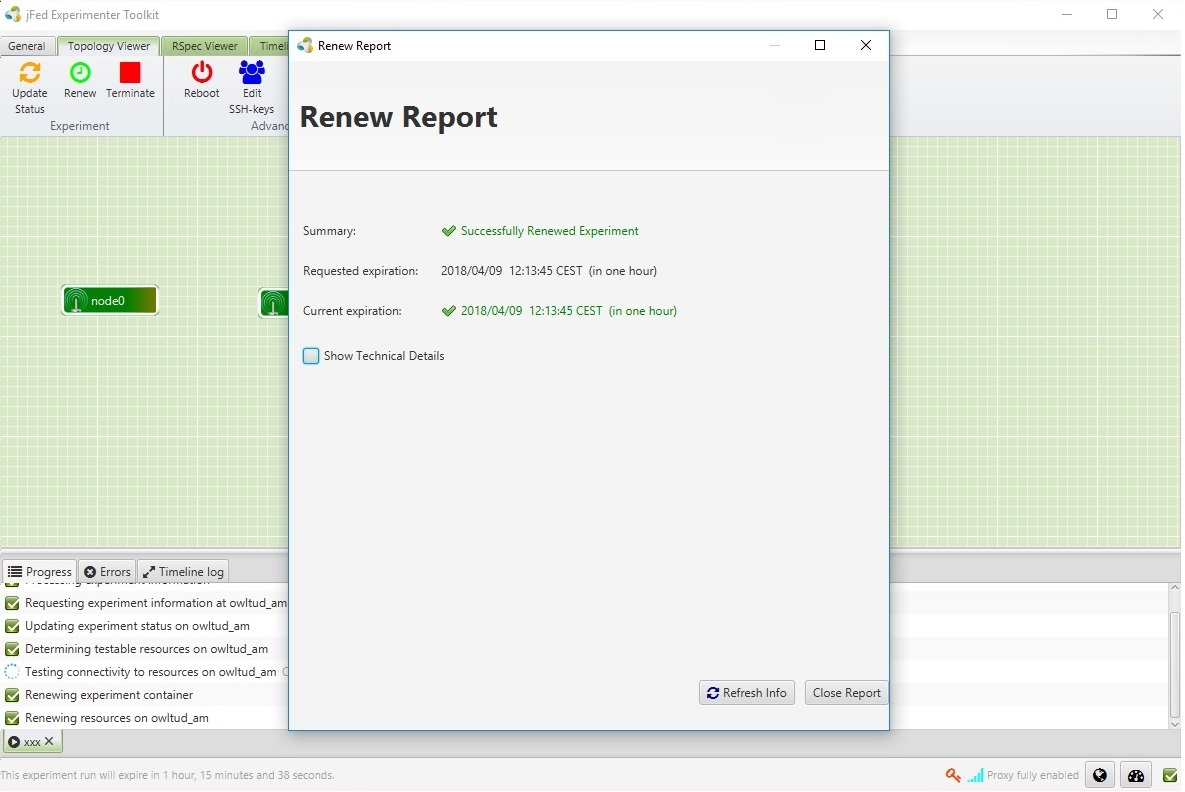
8. Extend the experiment duration
If the experiment duration, which you set when creating the experiment in jFed, is running out, you will see a warning:

In this case, you can click the "renew now" on this dialog box, or click on the "Renew" button to extend the experiment duration.
However, the extend experiment duration in jFed should not exceed the duration you reserved by us.
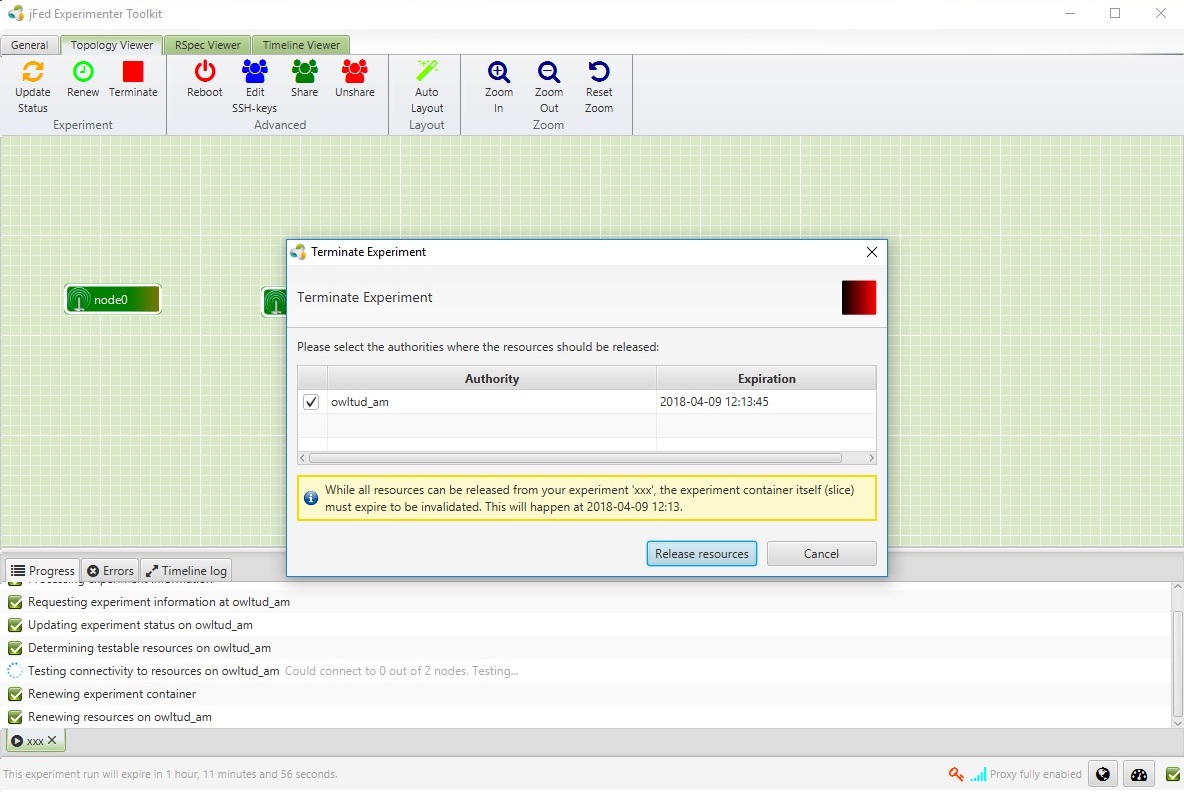
9. Terminate the experiment
After you finish your experiment, you need to stop the experiment and release the resource. Then the testbed will save the OS Image for each node.
If you want to save the OS Image, please terminate the experiment before the experiment expires.
Please click on the "Terminate" button and select "Release resources".